How to Use Linux Screen Command [Essential Guide]
The screen command in Linux allows you to use multiple virtual terminals that can be saved by name and reopened using keyboard shortcuts. Here's how to use it.

The Screen command in Linux allows the user to create multiple virtual terminals that can be saved by name and reopened using keyboard shortcuts.
Should you consider using screen to improve your workflow? Let’s look at some of the reasons you might want to try it out.
If you spend a lot of time in the terminal, you may find yourself using several terminals at once to perform different tasks.
For example, you may log in via SSH to a remote server and perform some tasks there. At the same time, you may want to keep a tab on the RAM and CPU utilization on the server while doing work on the local system.
With Screen, you can do all of it from one single ‘screen’. You can send running processes and sessions to background without interrupting your current workflow.
Sounds good? Let’s see more about Screen.
Install Screen on your Linux distribution
First, you’ll want to see if this software is already included with your Linux distribution. Many modern distributions include it, but it’s usually easy to install otherwise.
You can check to see if it’s installed by running the following:
screen --versionI am using Pop OS which is a Debian derivative distribution that uses the apt package manager. Screen is not installed by default, so I will type:
sudo apt install screenIf you are using a different package manager, obviously this command may be different.
Keybindings in screen
Screen is fairly easy to use, but it can still be a little confusing for new users specially because it relies completely on keyboard shortcuts in the terminal.
I’ve created a table to explain some basic functions. You can also access the keybindings screen for a full list.
| Function | Shortcut |
|---|---|
| Detach Screen | [ctrl + a] + d |
| Quit/Kill Screen | [ ctrl + a ] + k |
| Switch to Next | [ ctrl + a ] + n |
| Switch to Previous | [ ctrl + a ] + p |
| All Keybindings | [ ctrl + a ] + ? |
You do not hit all the keys at once. Instead, you will hit [ ctrl + a ] and then the specified key.
It’s important to note that these shortcuts are case-sensitive. Like most things on linux, they can also be customized. This can be achieved by editing the .screenrc file which can usually be found in /etc/screenrc.
How to use Screen in Linux
I will look at these common management tasks in an easy to follow linear method. This will effectively put you in the driver seat as you demo the functionality.
Start and name a session
You can start screen and apply a memorable name.
screen -S topFor this instance, I’ve created one called top (don’t confuse it with the command top, it could be named anything). It automatically launches the named session and I can accomplish whatever task I need to.
I will start an instance of the top command. I will then use the [ctrl + a] + d keyboard shortcut to detach it. Top will continue to run in the background, but I am taken back to the screen application.
From here, I can start another session. Let’s call it ‘free’ (because I’ll use free command here but it can be named anything like session2 etc) and enter:
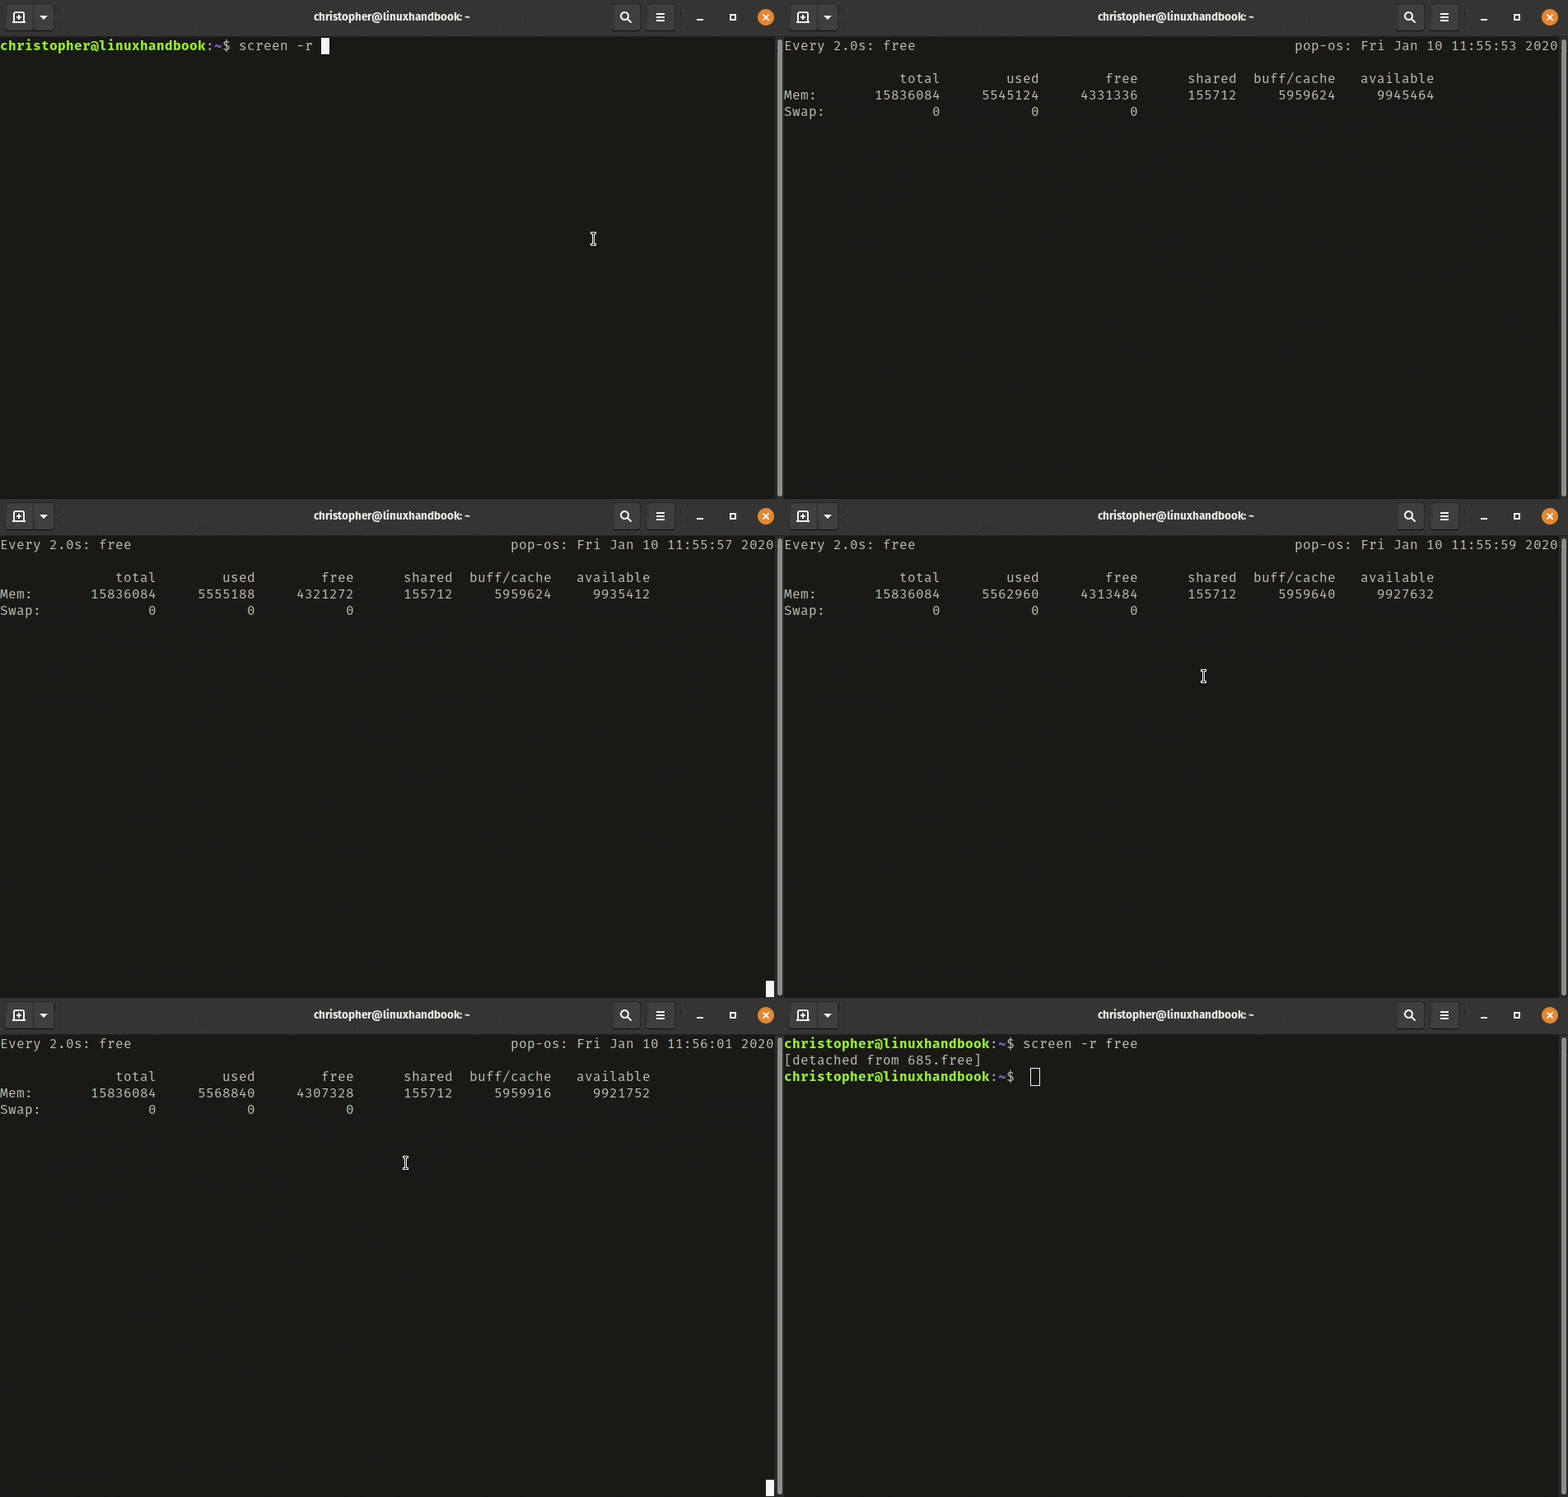
watch freeCombining watch command with free lets you constantly monitor RAM usage.
Every 2.0s: free                                                  pop-os: Sun Dec 22 02:25:32 2019

              total        used        free      shared  buff/cache   available
Mem:       32596848     5500212    22689952      894876     4406684    25801480
Swap:             0           0           0
Detach once again using the [ctrl + a] + d keyboard shortcut. So, you have two processes running now in the background.
How do you get back to your processes to check on them? I’ll explain that to you.
Quick re-attach
You can use the session name to easily re-attach a screen with option -r.
screen -r freeYou can see this in action above. If you’re not getting the same results, you may have made a mistake when naming the session (or forgotten all together). This is nothing to panic about.
List all sessions in screen
You can use the following command to list all your open screen sessions.
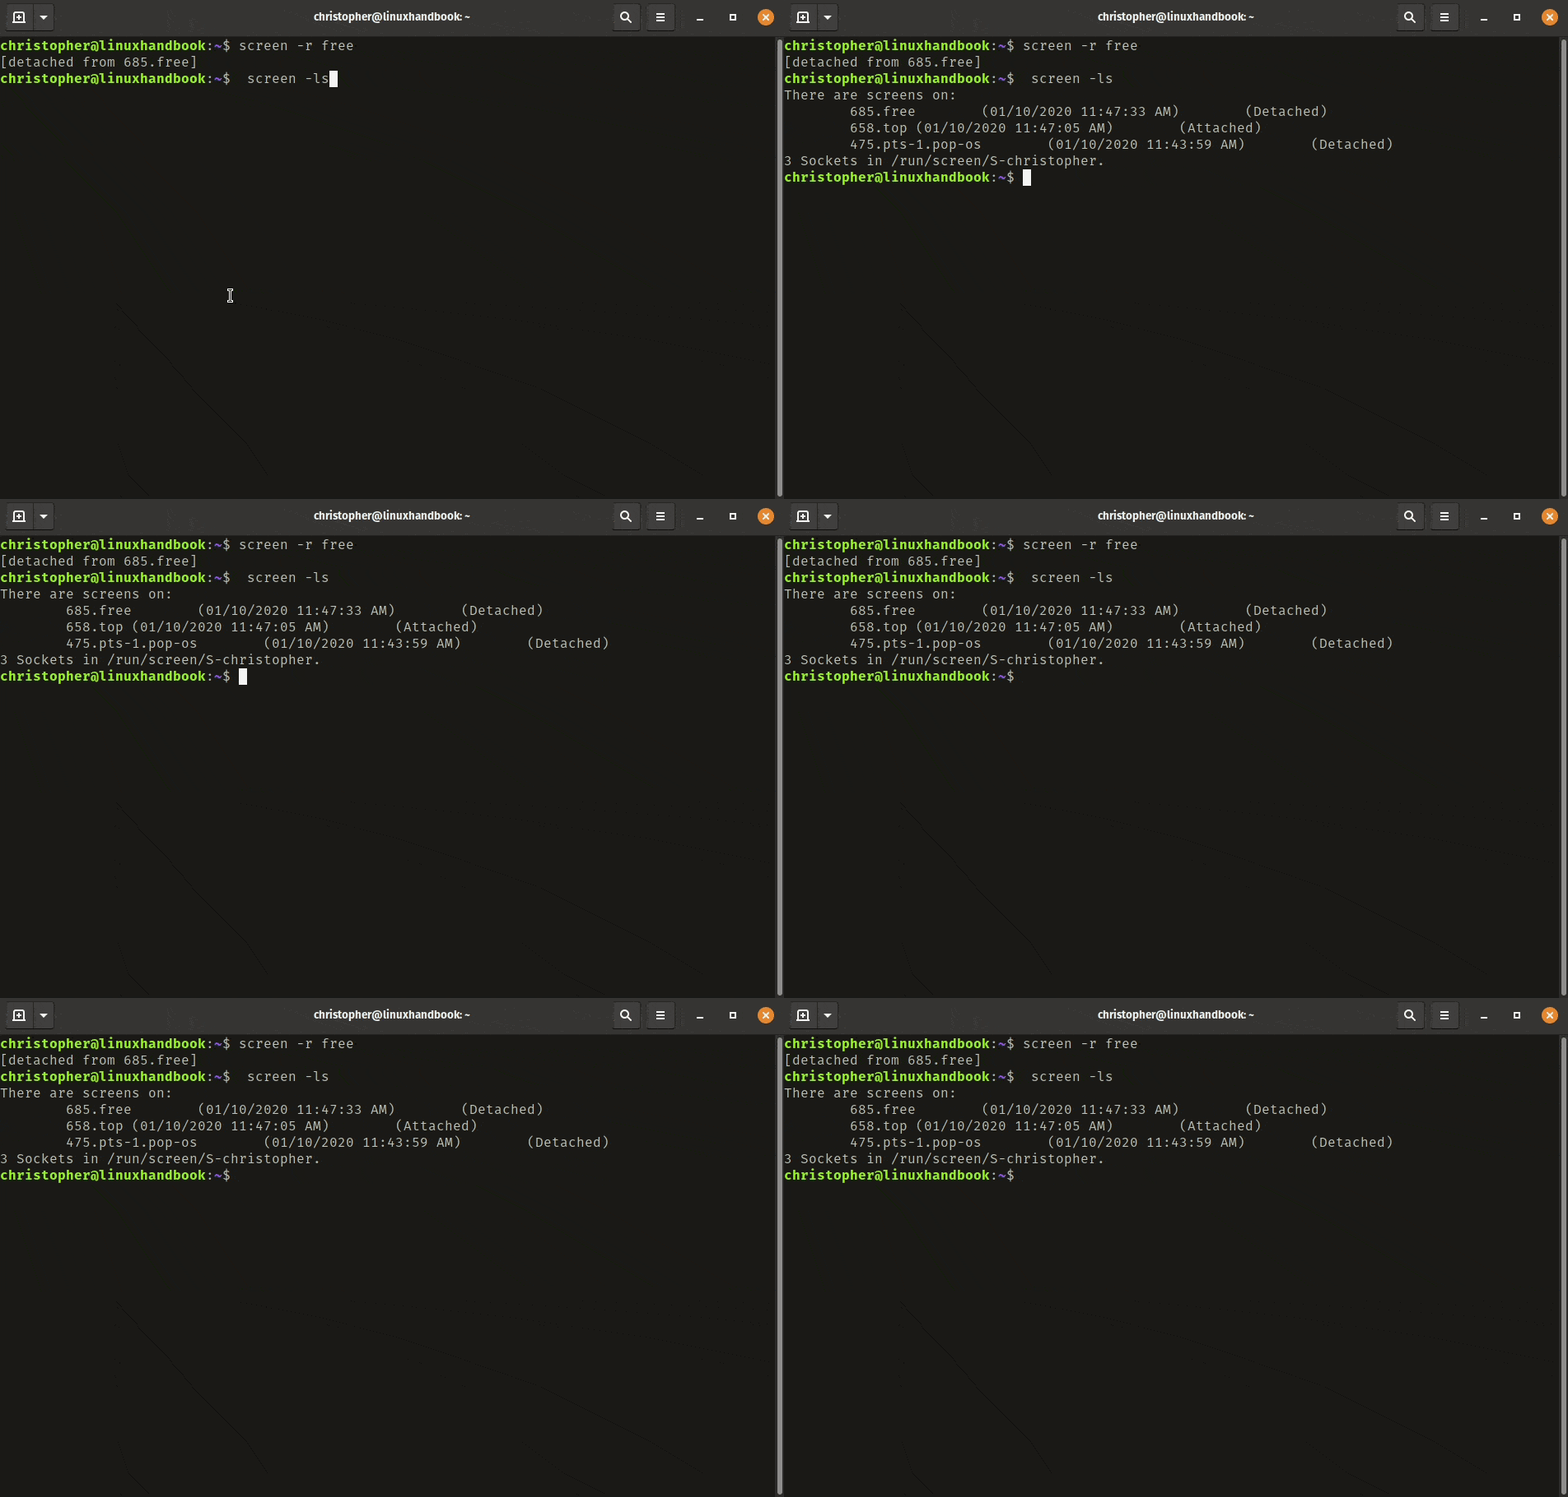
screen -lsSince I detached my free session again to enter this, I get the following output:
Use PID for re-attachment
If you didn’t name your sessions, they will be identifiable by an assigned PID and a computer ID. You can use the process ID (PID) to access the desired screen just like you would for a named session.
screen -r 685This is the PID associated with the screen I’ve named “free”.
Closing screens
Okay, if you’re following along you should have the ‘free session’ open. Let’s get rid of it and stop it from running.
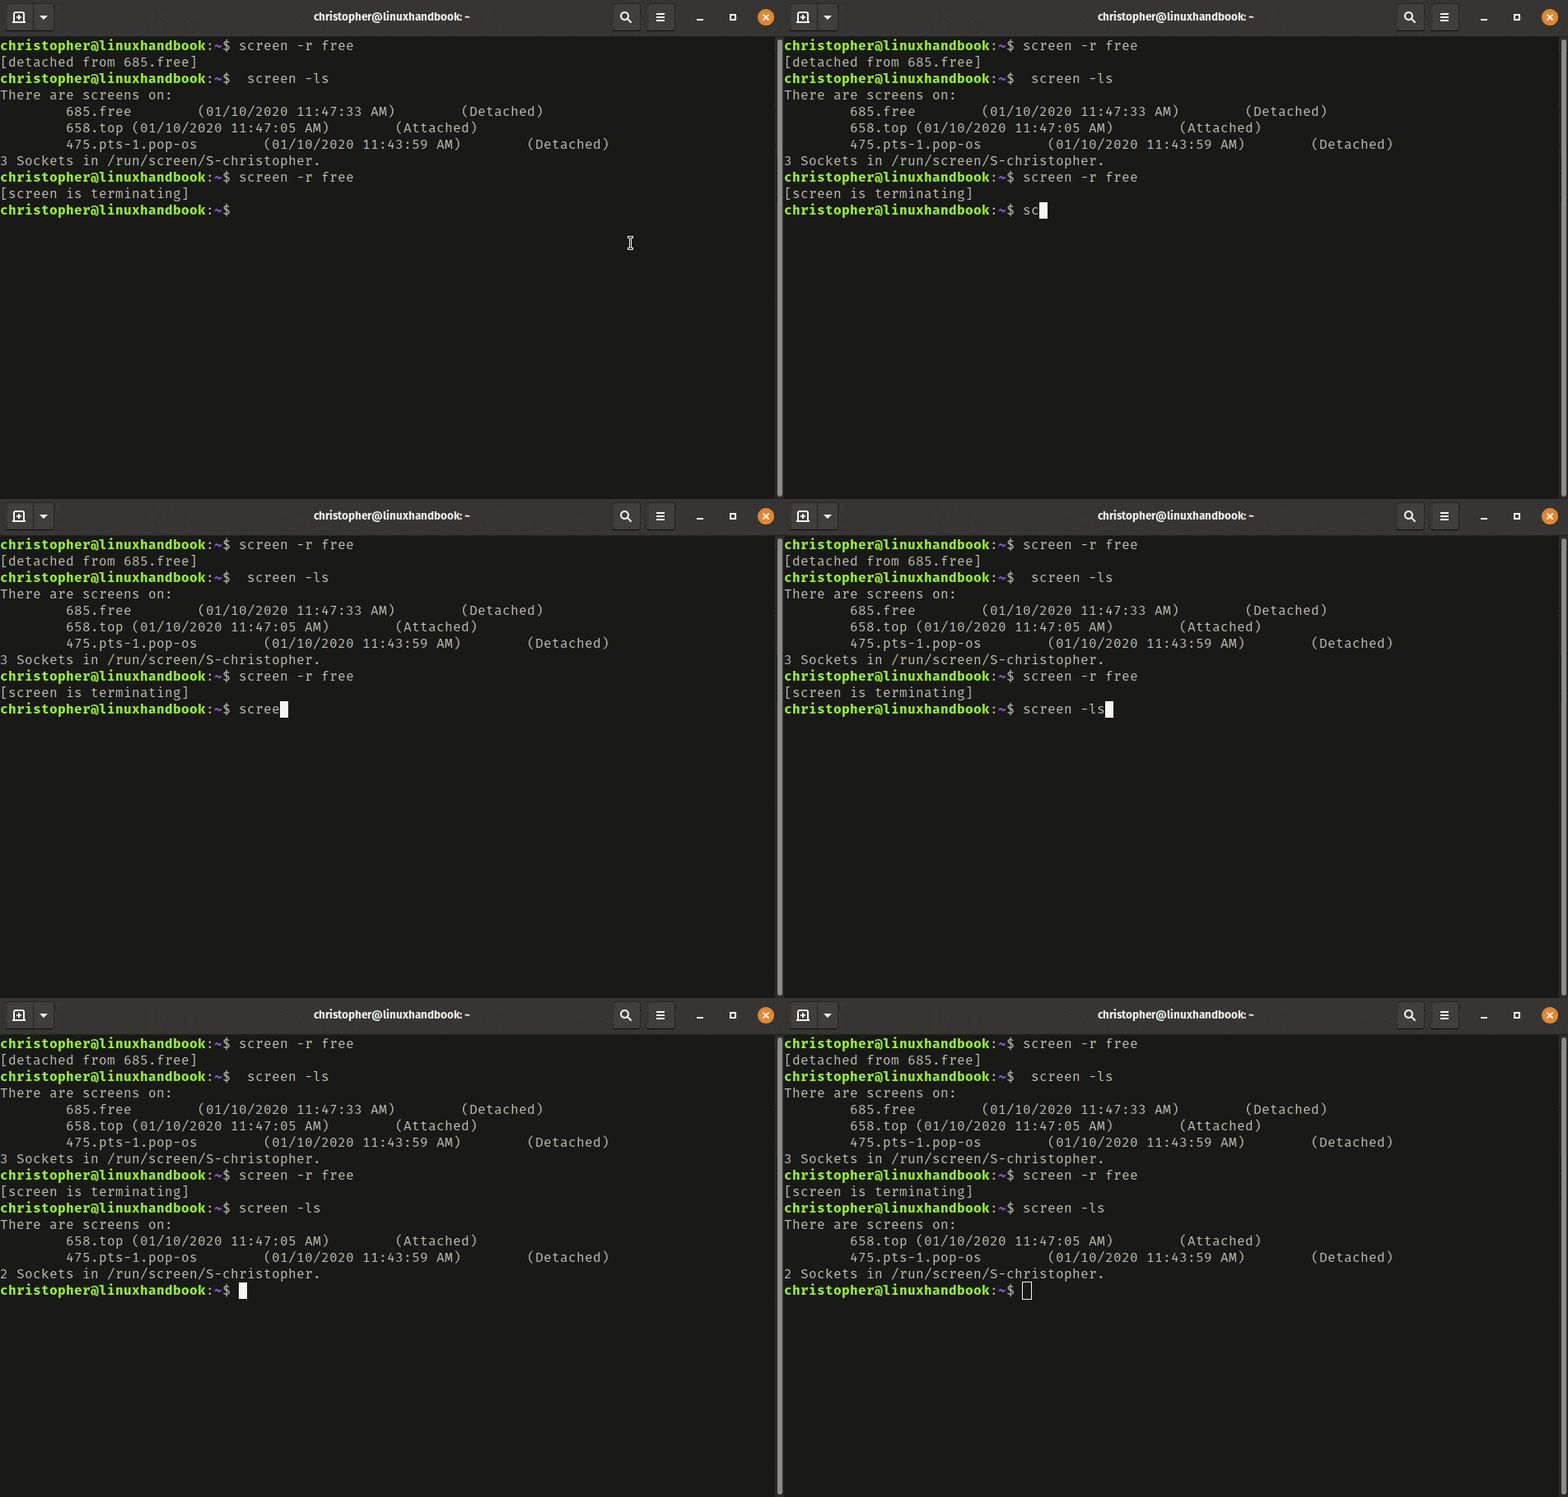
You use [ctrl + a]+ k to kill the active screen. A message will appear in the bottom left with a confirmation prompt. Enter y to exit the session. After a moment you will be left with something like this:
christopher@linuxhandbook:~$ screen -r free
[screen is terminating]
You can confirm by listing all the sessions with -ls again.
As you can see, the ‘free screen session’ is no longer active.
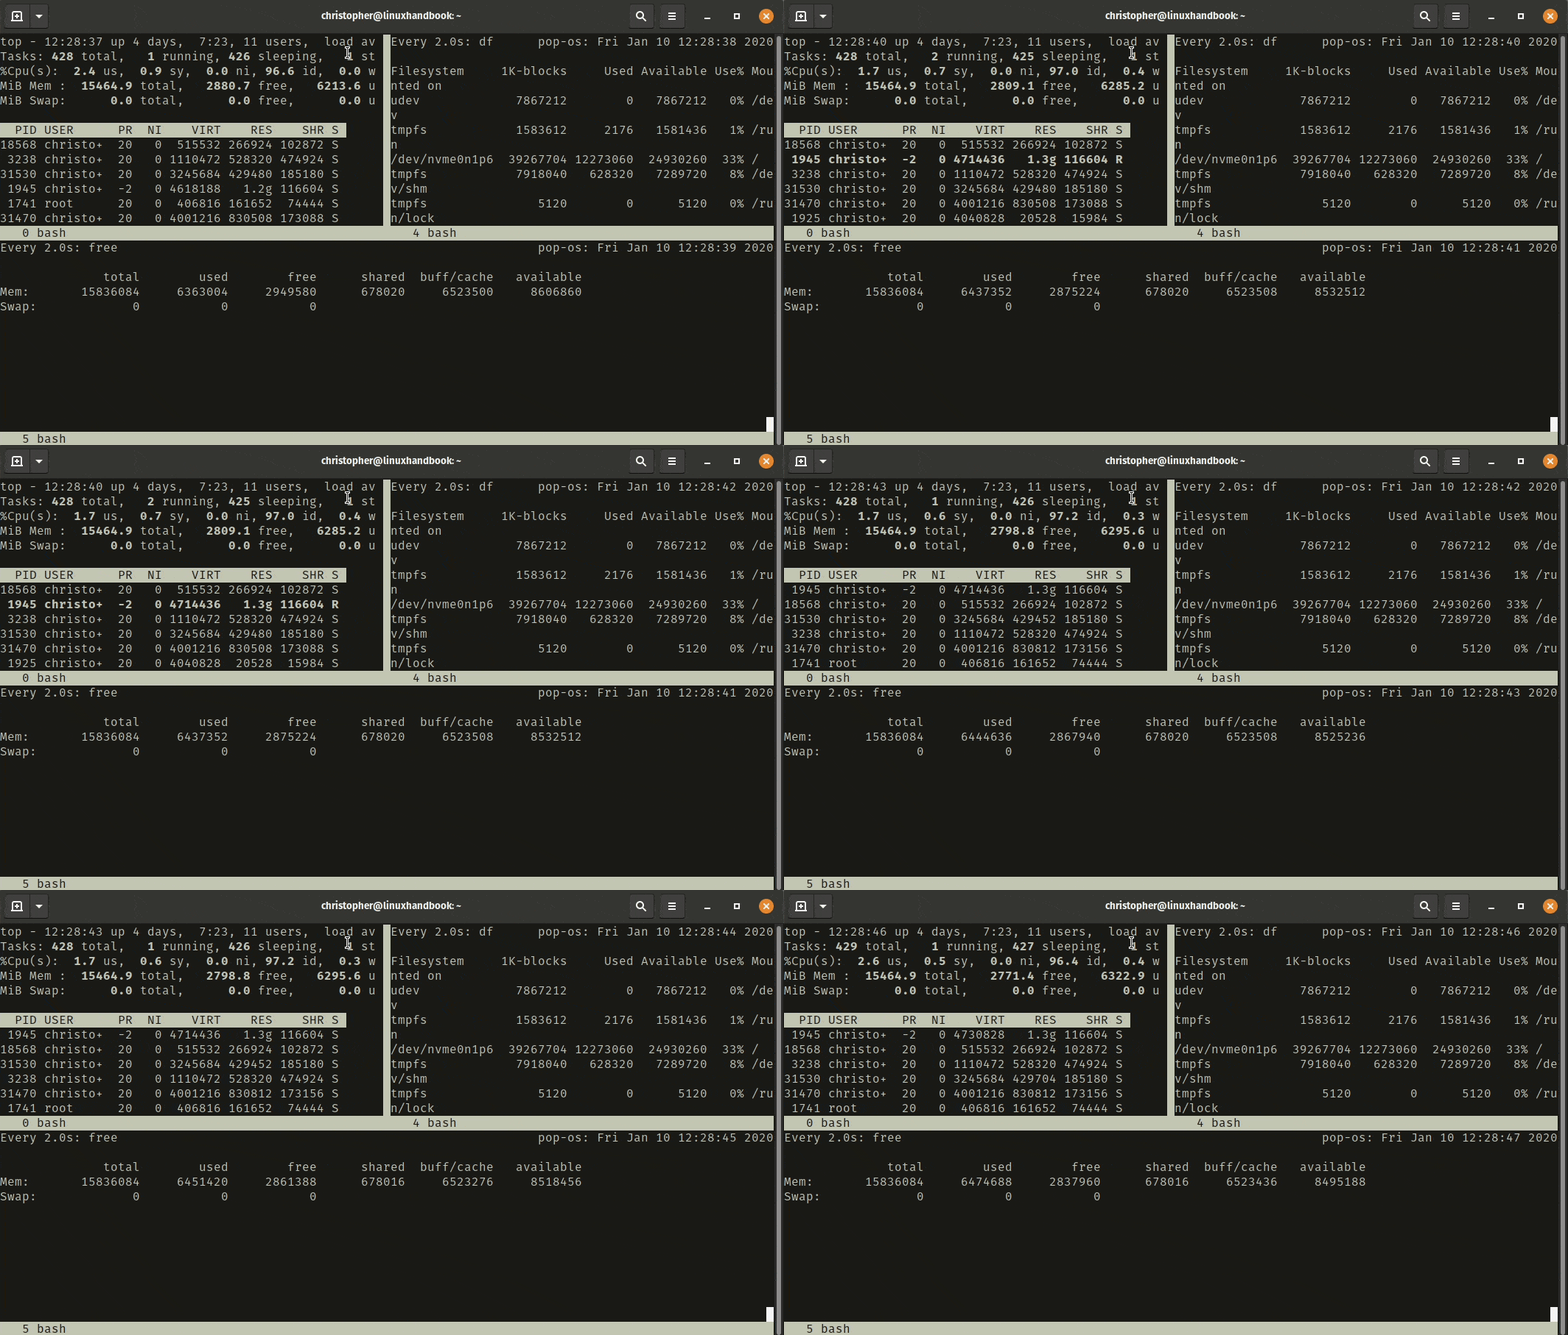
View multiple terminal windows at once
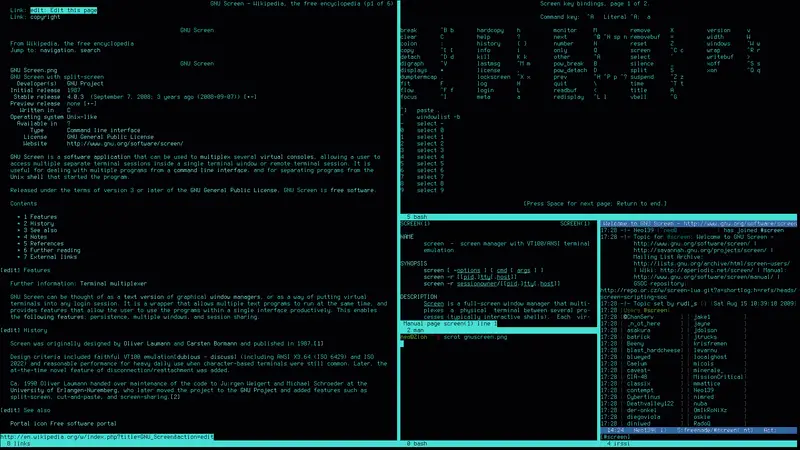
What truly makes screen indispensable is the ability to split the terminal into multiple windows within one session arranged horizontally or vertically.
Screen will use the active area to perform the split functions and create screen functions. Once a split is created, it will become the active area. However, you may find that you cannot input anything on the active window. You will need to create a screen in order to do that. You can initialize the shell by using [ctrl + a] + c.
There are more keyboard shortcuts essential for managing and navigating terminal windows:
| Function | Shortcut |
|---|---|
| Split Horizontal (Left/Right) | [ctrl+a]+S |
| Split Vertical (Top/Bottom) | [ctrl+a]+| |
| Create Screen/Start Shell | [ctrl+a]+c |
| Switch by Window ID | [ctrl+a]+0,1,etc. |
| Rename Window | [ctrl+a]+A |
| Close Active Window | [ctrl+a]+X |
| Close All Inactive Windows | [ctrl+a]+Q |
| Switch to Next Window | [ctrl+a]+[tab] |
Feel free to create your own arrangement and explore. You can split into many sessions, but I find that, for me personally, anything beyond a quadrant makes text difficult to read.
In the table, you can see the option to rename windows. This is different than the naming of screens you performed earlier with screen -S [name]. You will notice the window name in the bottom left corner. You can get a list of windows with their corresponding names and ID’s by entering [ ctrl + a ] + ["].
Remember, you can use all the functions you explored earlier within the new windows also. There are a ton of possibilities to explore.
Do you like screen?
There are so many ways to customize your terminal using GNU Screen. It’s a really great way to improve your productivity and make your workflow a little simpler when you’re doing administration tasks via the command line. Especially, if you’re working on a remote machine.
If you are new to this, leave us a comment and let us know if you enjoyed the tutorial. If you’re more experienced, feel free to share some of your go-to setups with other readers. We love feedback from our readers.
Christopher works as a Software Developer in Orlando, FL. He loves open source, Taco Bell, and a Chi-weenie named Max.
